Showing posts with label furniture. Show all posts

Wednesday, January 2, 2013

A New Year means a Renewed Craft To-Do List!

I LOVE to craft with a purpose, and I am filling my project folder with ideas for the New Year! Hopefully we will soon be moving into our "Forever Home", so I am keeping an eye out for any easy/cheap DIY decorating ideas I can find!


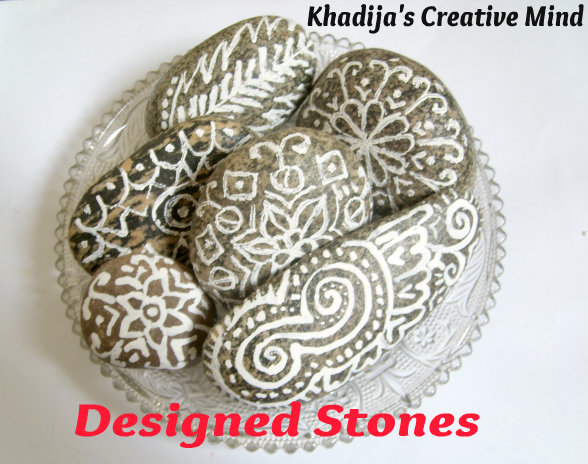
Henna Painted Stones
by


Beaded Stilettos 
by


Custom Quote Canvas
by


Glitter Keys
by


Apron from a Dress
by
(I really want to try this one!!)


Denim Hanging Board from Old Jeans
by


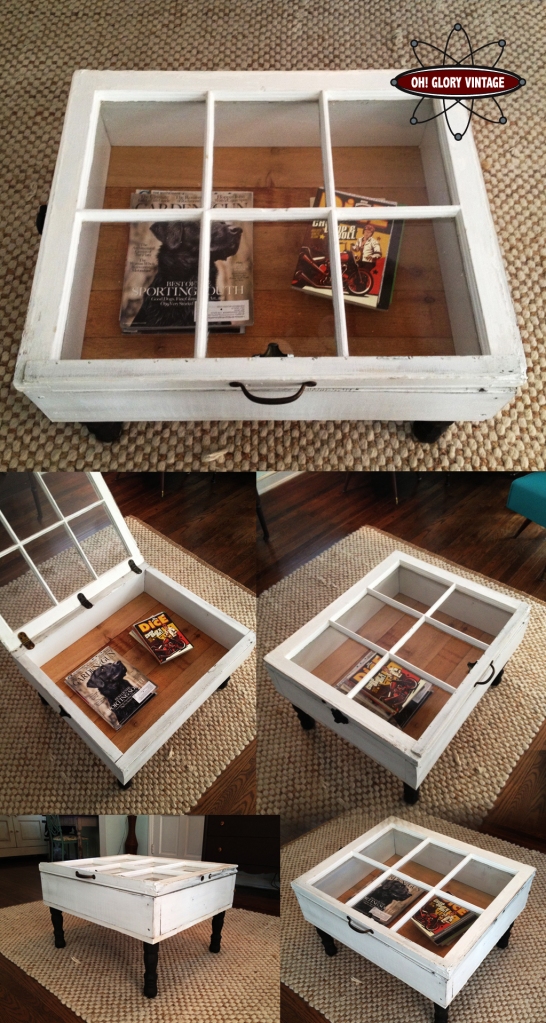
Reclaimed Window Coffee Table
by
(Reminds me a bit of the window table 


Paint inside of Drawers
by 


lowescreativeideas_wooden_floor_mat.jpg


Colorful Wooden Floor Mat 
by


Easy Cut Out Back T-Shirt
by


Saturday, September 8, 2012

Turn a Book Case into a Mail Center


Space is at a premium, especially in my kitchen. Every time someone comes in, they dump all of their stuff onto the book case that sits in the corner...I decided to hit 2 birds with one stone, by giving them a place to store their gear AND make the tired, old book case look bright and new! The top shelf is divided (by magazine organizers) into 4 nooks. The 3 adults in the house will use the magazine holders for their mail. The nooks are for keys, wallets, sunglasses...whatever they carry on them then dump all over my kitchen. :)


The baskets were bought at the same office supply store as the magazine organizers. I'm using them to hold the freebies I get in the mail. This is a much better system than stuffing them into bags from the grocery store and sticking them in the pantry...now we can use them as we need them/get them!

I had a sheet of radiator grating left from another project, and I painted it the same yellow then put it in front of the glass on the bottom two shelves. The top shelf door broke years ago, but I like it open. 


I've now exhausted my supply of yellow paint! Which is a reason to go buy more in a new color, right? Right?!?  

For materials and steps, check me out on Instructables.com


Creative Commons License
This work by Little Mom on the Prairie is licensed under a Creative Commons Attribution-NonCommercial-NoDerivs 3.0 Unported License.

Saturday, April 7, 2012

Sunny Yellow Side Table from Vintage Medicine Cabinet

Before I split Little Mom on the Prairie and Little Mom Saves Money into 2 separate blogs, this was one of the most popular posts on Little Mom Saves Money! This project won 2nd prize in the Spring Cleaning Contest on Instructables


This is one of my favorite projects that I have ever made. We found a perfect matched pair of vintage medicine cabinets in the basement of our investment house (aka the crap shack) basement. They have used razor slots in the back, and a delicate etching on the mirror front. I was amazed at the condition they were in (near perfect!) and immediately the vision of matching mirrored side tables popped into my head. I ended up exchanging my paint color 3 times before I was finally happy with this springy sunny yellow. It is a nice vintage type shade, and it looks better than I hoped it would!


Materials Used:
2 matching vintage mirrors from 1949
Wood Glue
1" trim head screws
1 3/4" wood screws
11 cans 'Sun Yellow' Rustolium Spray Paint
Spray Paint Application nozzle (highly recommended)
Fine grit and super fine grit sanding blocks
Paint & rust removal attachment, for power drill
18v power drill
3inch x 1inch x 8ft length of furniture grade cedar
8 table legs, stock from hardware store
6 cans clear water based spray sealant
protective gloves, eye wear and respirator mask, on hand from past projects


The slots in the back are razor blade slots. People would dispose of their used blades through the slot and into little "razor banks", or they would (like in our house) just dump them in between the walls. There was a big dangerous mess of rusty blades behind the lathe when we pulled down the interior walls of the house. 


There was some rust and paint that needed to be sanded off before we could prime and paint. 


We built a sturdy base for the medicine cabinet to sit in, so it won't tip. Also, to have something to properly attach the legs to, I thought it would topple over if we just bolted the legs to the cabinet. The mirror is very heavy. I could see it falling over if not for our handcrafted wood base!

For more in-depth details on how *MF* and I made these Sunny Yellow Side Tables, 

Creative Commons License
This work by Little Mom on the Prairie is licensed under a Creative Commons Attribution-NonCommercial-NoDerivs 3.0 Unported License.