 |
| The etched look finishes the top of the vase. |
I cut the tops off of green wine bottles, then faux etched the rims. This is incredibly easy! So much more so than I had originally thought. I used the simple score, heat and cool method and got a nice clean line.
Materials Used:
Empty wine bottles (free from neighbor)
Glass cutting kit ($15)
Sharpie or other marker
Candle
Ice Cube
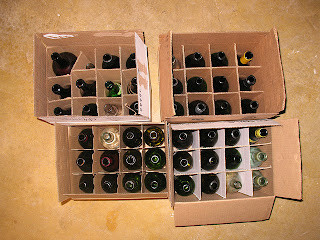 |
| A donation from my neighbor. |
Directions for Cutting Bottle:
1.Wash bottle well and remove any label or glue residue.
2.Place the bottle on the cutting tool and line the blade up with where you want to cut yur bottle. I marked mine off with a marker first, so it would be even.
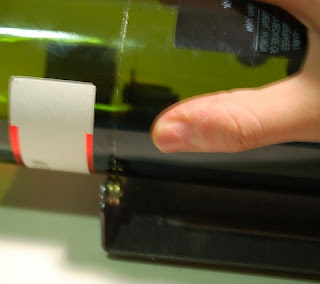 |
| Score the bottle evenly. |
3.Gently heat the score line with a candle.
4.Now run an ice cube over the score mark, cooling the glass. You may hear a small crackly sound.
5.Once again, heat the score mark with the candle. It should now snap into two pieces for you!
6.Sand the edges so that they are not rough. I used a fine grit sandpaper, made for glass (found at any local hardware store).
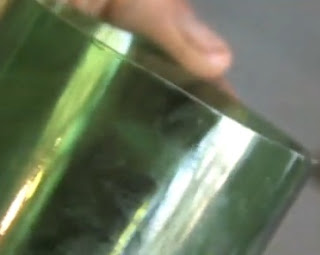 |
| Sanded Smooth! |
Now that your bottles are cut and sanded, we can 'etch' the top rim for a nice finished look.
Materials Used:
masking tape
cut wine bottles, edges sanded
Etching cream
Directions for Etching:
1. Decide how much of your bottle you want 'etched'. I did the top inch for the rim. Tape off a straight line underneath where you want the etched look to stop.
2. Apply your etching cream evenly. I recommend wearing protective gloves for this part. Turn the vase by the bottom while applying. Follow the directions on the can.
3. I let mine dry overnight before removing the tape and paper.
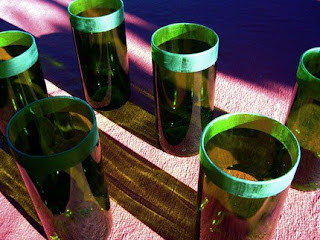 |
| Finished! |
 |
| A handful of daisies brighten up my kitchen in a bottle vase! |


